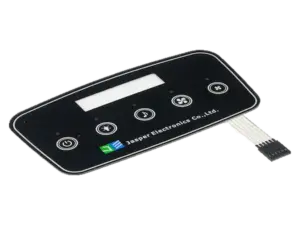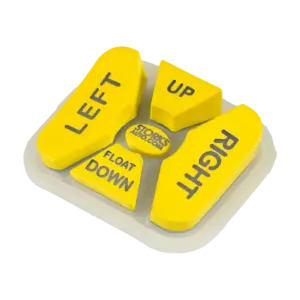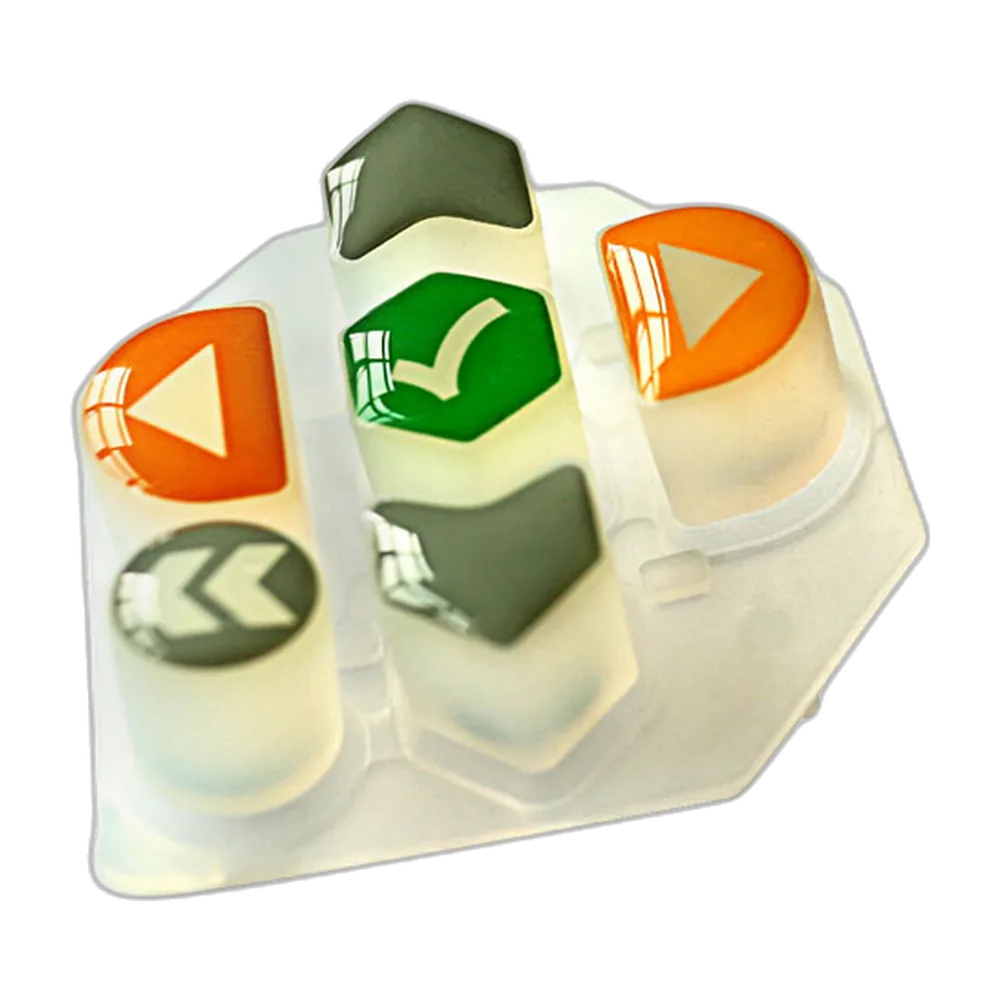
Backlit silicone keypad design requires an electrically powered light source, a controlled optical path and an agreed way to judge the finished interface. The silicone keymat and any light guide transmit or distribute light; they do not generate it. Start with the illumination requirements, then coordinate the optics, circuit, mechanical assembly and verification plan. S4
When specifying backlit silicone rubber keypads, define more than illuminated artwork. State which regions must light, what must remain dark, who supplies the electronics and what the operator must see in each operating state.
- Define What Must Illuminate and When
- Select the Light Source and Circuit Scope
- Choose an architecture before finalizing LED positions
- Assign electrical and supply responsibilities
- Coordinate Translucency, Legends and Coatings
- Control the Light Path and Separate Optical Defects
- LED-to-operator optical-path review table
- Diagnose the correct failure mode
- Review Mechanical Fit and Viewing Conditions
- Approve Lit and Unlit Production-Intent Samples
- Freeze the setup before comparing results
- Powered and unpowered verification matrix
- Record acceptance without hiding the method
- Prepare a Backlit Keypad RFQ
- Request a Backlit Keypad Review
Define What Must Illuminate and When
Prepare an illumination drawing alongside the decoration artwork. Identify luminous legends, illuminated key bodies, rings, status windows and prohibited light-emitting areas. A dark character against a glowing key is a different requirement from a glowing character against a dark key.
Give each controllable region a zone ID and map it to the operating states: startup, normal operation, dimmed operation, sleep and fault indication, as applicable. Mark symbols that must remain readable without power separately from symbols intentionally concealed until illuminated.
Specify the viewing task as well as the appearance. Record the intended ambient lighting, viewing distance and angles, and whether the user must recognize text, distinguish a status color or simply locate a control. Treat daytime readability and acceptable nighttime brightness as separate approval questions, rather than assuming that the brightest sample is preferable.
Select the Light Source and Circuit Scope
Choose an architecture before finalizing LED positions
Three arrangements worth evaluating are direct illumination, with LEDs beneath selected keys or zones; shared illumination, with LEDs feeding a distributing guide; and a separate indicator path, with a light pipe or window serving a status symbol independently of the tactile key. These are alternatives, not mandatory layers in one construction.
For direct illumination, review each emitter against the legend location and contact mechanism. This route avoids a separate distributing component, but still needs room for the emitter, key movement and light mixing. For a shared guide, identify where light enters, where it exits and whether separately commanded zones need separate optical paths. Consider whether relocating the sources justifies the additional optical part and its locating interfaces. A shared optical volume should not be assumed to provide independent indication merely because its LEDs have separate electrical channels.
Light-pipe guidance from VCC identifies source spacing, input alignment and exit geometry as design variables. Use these as review inputs, not as universal keypad dimensions. A guide transports light from an emitter; adding one does not remove the need to specify the LED and its drive. S4
This guide focuses on LED-based designs. A different light source requires its own documented power interface, optical construction and verification plan; do not transfer the LED assumptions unchanged.
Assign electrical and supply responsibilities
Distinguish a keymat-only order, a keymat with passive optical parts, and a powered keypad subassembly. For each quotation, name the owner of LED selection, PCB layout, current-control components, connector pinout, firmware, enclosure interfaces and assembly testing. Do not assume that a silicone-part quotation includes LEDs or a driver.
LED current regulation and dimming are circuit functions. Texas Instruments’ LP5524 documentation provides one example of regulated LED channels with PWM-controlled banks; it is an illustration of circuit scope, not a recommended component for every keypad. S1
Ask the electrical owner to document the supply range, selected LED electrical requirements, current settings, channel map, permitted loading and dimming method. With pulse-width modulation (PWM), record frequency, duty-cycle range and on-pulse current rather than recording only a software brightness percentage. Review the selected components’ operating conditions before approving those settings. S1
Check voltage headroom for the selected LED/driver combination at the required current and operating corners, using the relevant component datasheets. Record the LED emitting geometry, color specification and permitted substitutions with the optical BOM. Review multicolor states separately rather than approving only one color.
Include startup, shutdown and sleep behavior in the interface specification. A successful bench demonstration at one supply setting is not the complete operating-state approval.
Coordinate Translucency, Legends and Coatings
Choose the light-transmitting region deliberately rather than specifying the entire keymat simply as “clear silicone.” WACKER’s optical-silicone literature describes formulations for optical components alongside grade-specific mechanical and processing characteristics. Optical transparency alone is therefore not evidence that a material meets the keypad’s spring, sealing or coating requirements. Confirm the actual compound and finished-part requirements separately. S2
Epec’s backlit-interface guidance identifies material thickness, transparency, coating opacity and LED placement as interacting variables. More transmission is not automatically better diffusion: review the molded thickness and complete finish with the intended source, rather than approving a flat color chip as the optical sample. S3
Laser removal of an opaque coating can create a transmitting legend. S3 Treat it as a candidate, not a default requirement. Ask the manufacturer to assess alternatives such as selectively masked or printed transmitting regions, molded windows, or an illuminated background with opaque printed symbols. Specify whether the character itself or its surrounding field must emit light; these appearances are not interchangeable.
Review the feasibility of the selected route with the manufacturer. For laser-specific artwork, coating sequence and process defects, use the separate laser legends and coatings guide. The decision here is how the approved surface construction participates in the complete optical system.
Control the Light Path and Separate Optical Defects
LED-to-operator optical-path review table
Use this project review table to connect the optical drawing to the bill of materials. Optional features apply only when present in the selected architecture. Isolation features sit around unwanted paths; they are not transparent layers that useful light must pass through.
| Path position or boundary | Function and possible construction | Drawing or approval input | Responsible party |
|---|---|---|---|
| LED and circuit board | Powered emitter; direct-facing or guide-coupled arrangement | LED identification, emitting direction, coordinates, current and channel | ____ |
| Coupling region | Air gap, entrance pocket or interface to a guide | Relative position, assembly datum and permitted movement | ____ |
| Distribution region, if used | Light-guide film, plate, pipe or diffuser appropriate to the architecture | Entrance and exit regions, retention and approved optical sample | ____ |
| Transmitting keypad region | Selected silicone body, window or separately specified insert | Compound, color, section thickness and optical-region boundaries | ____ |
| Isolation boundary | Specified opaque wall, skirt, coating or housing feature around unwanted paths | Blocking material, coverage and interfaces between adjacent zones | ____ |
| Legend and output surface | Transmitting character, window, or illuminated field around an opaque symbol | Artwork revision, finish and intended lit/unlit appearance | ____ |
| Installed interface to operator | Bezel opening and viewing space | Assembly condition, viewing angles, distance and ambient-light conditions | ____ |
Assign contacts, conductive pills, supports and nearby components their actual positions on the same section drawing. Do not approve the optical stack separately from hardware occupying that space.
Diagnose the correct failure mode
Use three separate inspection labels: nonuniformity for unwanted variation inside an intended lit region; leakage for visible light outside allowed regions; and cross-talk for illumination of a zone that is commanded off.
For nonuniformity, investigate source placement, intervening obstructions and the distributing region. For leakage, trace the route through sidewalls, skirts, bezel interfaces or other openings. For cross-talk, illuminate one zone at a time and inspect its neighbors. This diagnostic sequence is a proposed review method, not a claim that every defect has one cause.
Specify the blocking property of a proposed baffle. A rib made from the same transmitting compound should not be treated as an opaque barrier without verification. Likewise, confirm that an isolation feature remains effective at the installed gap and during key movement.
Change one controlled variable at a time, and repeat all affected checks. Do not accept improved uniformity until the minimum useful brightness and forbidden-region appearance have also been reviewed.
Review Mechanical Fit and Viewing Conditions
Evaluate the keypad on the intended PCB and in its intended housing, or in a fixture that reproduces their controlled interfaces. Use shared datums for the LED, keymat and bezel rather than independently centering each drawing.
Check the resting position, normal center press, permitted edge press and return. Inspect optical clearances alongside contact travel, spring behavior and component keep-outs. Check whether pressing or lateral movement changes source alignment or opens a path around an otherwise effective barrier. An optical modification is not approved until the key still meets its mechanical and electrical requirements.
Review these interfaces with the silicone rubber keypad design guide, rather than substituting an optical review for the mechanical tolerance analysis.
Repeat visual approval from the specified operating angles, not only directly above the keypad. Record the viewing conditions so that a supplier’s sample evaluation and the OEM’s installed evaluation address the same task.
Approve Lit and Unlit Production-Intent Samples
Freeze the setup before comparing results
Identify the sample, keymat and artwork revisions, LED identification, optical parts, PCB, housing, firmware and drive settings. Document ambient lighting, observation geometry, instrument configuration and the stabilization rule used before recording results.
Use the correct photometric quantity. Konica Minolta distinguishes luminous flux in lumens, luminous intensity in candela, illuminance in lux and luminance in candela per square metre. Specify finished-legend luminance in cd/m² and ambient illuminance in lx where those quantities are being measured; do not substitute an LED’s lumen or millicandela rating for the finished-keypad result. S5
Define measurement regions that fit the legend or window being evaluated. Record how background areas, instrument spot size and low-level readings are handled. Capture paired lit/unlit photographs of the same assembly with documented settings; keep settings controlled when comparing revisions. Treat these photographs as visual records, not substitutes for agreed photometric measurements.
Powered and unpowered verification matrix
Complete the acceptance references before testing. Use the conditions applicable to the product; this template does not prescribe universal brightness limits, temperatures or exposure durations.
| Electrical or assembly state | Conditions to record | Verification task | Acceptance reference / result |
|---|---|---|---|
| Supply disconnected | Ambient light and viewing geometry | Required unpowered readability; intended hidden-symbol appearance; finish | Spec: ____ / Result: ____ |
| Supply present, backlight commanded off | Startup, normal-off and sleep commands | Residual glow and unintended indication; distinguish this state from disconnection | Spec: ____ / Result: ____ |
| Normal released illumination modes | Channel map, color, drive and installed stack | Legend readability, within-legend appearance and key-to-key comparison | Spec: ____ / Result: ____ |
| Lowest intended dimming mode | Actual waveform and firmware setting | Useful visibility, stability and transition into/out of the mode | Spec: ____ / Result: ____ |
| One zone on, neighbors off | Each relevant zone and color combination | Optical cross-talk and light outside permitted regions | Spec: ____ / Result: ____ |
| Highest permitted operating illumination | Maximum released loading and stabilization condition | Upper brightness/glare requirement, optical appearance and electrical/thermal limits | Spec: ____ / Result: ____ |
| Specified supply and environmental limits | Selected operating corners and temperature condition | Repeat the affected optical and electrical checks | Spec: ____ / Result: ____ |
| Key pressed and released | Center/edge action and relevant illumination states | Shadows, opened leakage paths, interference and return | Spec: ____ / Result: ____ |
| After agreed qualification exposures | Cleaning, wear or environment protocol and sample history | Repeat the specified lit/unlit checks; record absolute results and changes | Spec: ____ / Result: ____ |
Record acceptance without hiding the method
Separate within-legend uniformity from differences between keys. Define the calculation, sampling regions and allowed limit whenever “uniformity” appears in a specification. Do not compare deliberately different colors or brightness levels as though they shared one target. Keep a minimum-luminance requirement separate from uniformity: similar readings alone do not establish adequate brightness. For color-coded indicators, add an agreed color acceptance method at the assembled output rather than approving only a color name.
A reusable measurement record is:
| Record field | Project entry |
|---|---|
| Sample / revision / state / color | ____ |
| Drive setting / ambient illuminance / viewing geometry | ____ |
| Legend or region ID / measurement method | ____ |
| Minimum / mean / maximum luminance, cd/m² | ____ / ____ / ____ |
| Uniformity definition / limit / result | ____ / ____ / ____ |
| Forbidden-region or off-zone criterion / result | ____ / ____ |
| Instrument / setup / image references / disposition | ____ |
Agree which tests establish design approval and which become routine production checks. Retain the approved sample together with its recorded configuration and limits. Route substitutions or changes affecting that configuration through an agreed review process rather than relying on visual memory.
Prepare a Backlit Keypad RFQ
The following checklist is designed to expose interface decisions before quotation and sampling. Enter TBD for unresolved items and identify who will close them; an incomplete requirement should remain visible rather than becoming an assumed specification.
| RFQ input | Customer entry |
|---|---|
| Equipment application and operator task | ____ |
| Drawings, CAD, artwork and revision references | ____ |
| Quantity for evaluation / initial order / annual estimate | ____ / ____ / ____ |
| Illuminated regions, zone IDs and operating-state map | ____ |
| Required unpowered appearance or hidden-symbol behavior | ____ |
| Ambient lighting, viewing distance and operating angles | ____ |
| Architecture preference and available stack space | ____ |
| LED identification, positions, colors and supply owner | ____ |
| Supply range, current-control circuit and drive owner | ____ |
| Dimming, startup, sleep and firmware responsibility | ____ |
| Keymat, guide, barrier, PCB and housing supply boundaries | ____ |
| Contact mechanism, travel, keep-outs and shared datums | ____ |
| Legend route, finish, cleaning and exposure requirements | ____ |
| Optical limits, measurement method and approval authority | ____ |
| Representative assembly/sample availability and unresolved decisions | ____ |
Attach the zone map, relevant section drawings and circuit information together. This makes it possible to review the keypad as an interface rather than quote an illuminated appearance without its supporting conditions.
Frequently Asked Questions
Does every illuminated key need its own LED?
Not necessarily. Evaluate shared illumination for regions that operate together. For independently signaled regions, require evidence that the chosen electrical channels and optical isolation produce the intended states. Decide from the operating-state map, not a fixed LED-per-key rule.
Is laser etching mandatory for illuminated rubber keypads?
No. Specify the required transmitting character, window or background first, then assess feasible molding, printing, masking or laser-defined routes. Do not make a laser process mandatory when the visual requirement can be met by another approved construction.
Can firmware replace a mechanical or optical correction?
Use dimming to evaluate approved operating levels, not to bypass a failed leakage or cross-talk requirement. After any firmware adjustment, repeat both the intended lit-region checks and the forbidden-region checks before accepting the change.
Can a sample made on the supplier’s PCB approve the OEM assembly?
Record exactly what that sample establishes. Unless the OEM’s source positions, drive, optical interfaces and housing are represented, treat it as a limited construction or appearance evaluation. Reserve installed-system approval for the agreed production-intent configuration.
What should purchasing freeze after sample approval?
Freeze the approved revisions, responsibility split, relevant component specifications, inspection setup and acceptance criteria. Include a change-review requirement for substitutions affecting the optical or electrical configuration. A retained sample is useful, but it should accompany—not replace—the written specification.
Request a Backlit Keypad Review
Send JASPER your drawings or sample references, equipment application, quantities, illumination-state map and known electrical and mechanical constraints. Include any undecided items as TBD and identify the desired supply scope. Use the Request a Backlit Keypad Review enquiry form to submit the project for scope and feasibility confirmation.
Ready to Start Your Project?
Tell us about your membrane switch, keypad, or graphic overlay requirements. Our engineering team will review your specifications and provide a detailed quote.