
Membrane Switch Design Guide
A practical reference for engineers, product developers, and sourcing teams preparing a custom membrane switch project. Based on 23 years of production and application data.
Quick answer: A membrane switch design should lock five things before tooling: application environment, overlay material, key feel method, circuit and tail routing, and adhesive compatibility with the enclosure surface. Skipping any one of these creates a problem that shows up during assembly or in the field — not on the drawing.
The technical reference covers the main decisions that affect membrane switch manufacturability, performance, and cost. It is written for engineers, product developers, and sourcing teams who are specifying a custom membrane switch, keypad, or control panel overlay for OEM production.
JASPER has manufactured membrane switches since 2003, exporting to OEM customers across five continents. The guidance below reflects real production and application data — including failure modes we have seen, material choices we have tested, and tolerances that matter in practice — from a 5,000 m² ISO 9001-certified factory with 2,500 m² of dedicated cleanroom space.
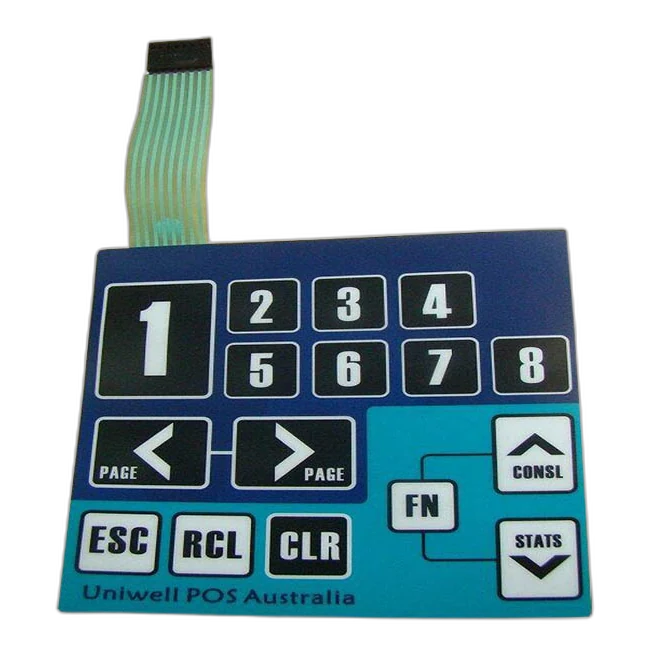
1. Define the Application First
Material choices, key structures, and sealing requirements all flow from the application. A medical device wipe-down panel needs different overlay chemistry than an outdoor instrument cluster. Define these before selecting materials:
- Indoor or outdoor installation (UV, rain, temperature range)
- Cleaning agents or chemical exposure (IPA, bleach, industrial solvents)
- Required key life (100K cycles? 1M? 5M?)
- Display or LED window requirements
- Operating temperature range (standard: -20 to +60 °C; extended: -40 to +85 °C)
- Enclosure material and surface texture (affects adhesive selection)
- Certification requirements (UL, IEC 60601, IP rating)
2. Choose the Overlay Material
Polyester (PET) at 125–250 µm is the default for most industrial and medical applications. It resists flexing over 1 million cycles, tolerates isopropyl alcohol and dilute bleach, and holds subsurface-printed color without fading. Polycarbonate suits projects that need optical clarity or thermoforming, but scratches more easily and should be hard-coated for any wipe-down application. Hard-coated PET combines the chemical resistance of polyester with improved scratch performance.
3. Select Key Feel
Tactile keys use stainless steel snap domes — typically 8–16 mm diameter, 150–350 gf actuation force. They provide a distinct click that confirms each keypress. Non-tactile keys rely on spacer compression alone, producing a softer feel suited to sealed surfaces where smooth cleaning is the priority. Embossing (0.3–0.8 mm) adds key location feedback and can be combined with either tactile or non-tactile designs.
4. Plan the Circuit and Tail
The tail is the most common failure point in membrane switch assemblies — not the circuit, not the dome, not the overlay. A tail that bends at too sharp a radius during enclosure assembly will develop micro-cracks in the silver traces that cause intermittent failures months later. Review these early: exit direction relative to the enclosure, minimum bend radius (typically ≥3× tail thickness), connector pitch and type, and the assembly worker’s insertion path.
5. Confirm Adhesive and Mounting
Adhesive selection depends on the enclosure surface. Smooth ABS bonds reliably with standard 3M 467MP. Textured powder-coat or rubber gasket surfaces may need a thicker adhesive (3M 9472LE) or mechanical retention. Operating temperature matters: standard acrylic adhesives are rated -40 °C to +82 °C, but humid tropical environments can reduce peel strength if the adhesive thickness is marginal. Always specify the enclosure material when requesting a quote.
RFQ Checklist
Send these items when available — the more complete your initial submission, the faster and more accurate the quotation:
- Product drawing or keypad layout (DXF, STEP, or PDF)
- Artwork file (AI or PDF with Pantone callouts)
- Switch size and thickness limits
- Circuit schematic or pinout diagram
- Connector type, pitch, and tail length
- Material or surface finish preferences
- Prototype quantity and annual production estimate
- Environmental and certification requirements
- Photos or samples for replacement projects
Ready to Start Your Project?
Send your design files, specifications, or questions. We review every project and respond within 1–2 business days.
Supporting definitions for this design guide
If the drawing team needs clearer terminology, related resources define the basic membrane switch structure, connector/tail details, and common RFQ vocabulary.
Use these resource pages before quotation
Review capacitive touch, waterproof sealing, RFQ inputs, and downloads before locking artwork, connector, enclosure, or sample requirements.