Start silicone keypad troubleshooting by separating three observations: whether the key moves and returns, whether the switching path changes electrical state, and whether the controller records the intended command. Preserve the returned condition, identify the exact configuration, and select a comparison that changes one variable. A “dead button” is a symptom—not a root cause or a supplier verdict.
This guide is for OEM engineering and quality investigations. Use authorized personnel and controlled bench assemblies. Follow the equipment manufacturer’s isolation procedures; do not dismantle safety-critical equipment or bypass protective functions to investigate a keypad.
- Record the Symptom and Affected Configuration
- Use a Symptom-to-Test Navigation Table
- Separate Mechanical and Electrical Failures
- Identify what actually makes the switch
- Separate resistance measurement from functional testing
- Identify Surface and Lighting Defects
- Compare Bare-Part and Assembled Behavior
- Collect Evidence Before Choosing a Corrective Action
- Request an OEM Failure Review
Record the Symptom and Affected Configuration
Replace “buttons not working” with an observable description: which key, expected response, actual response, press location, operating state, and when the problem occurs. Distinguish affected units from failed actuations: record failed units against inspected units, and missed events against attempted press–release cycles.
Capture the keypad, PCB, housing, and firmware revisions; unit and lot identities; available cavity information; assembly history; and environmental or cleaning exposure. Identify whether failure began before assembly, after installation, during use, or after an exposure.
Photograph the as-received condition before cleaning, reseating, or repeated cycling. Retain an untouched return and a matched passing assembly when available. When only one return exists, agree the inspection sequence before destructive work. Keep observations separate from interpretations: “key remains below its rest position” is evidence; “bad silicone” is not.
Use a Symptom-to-Test Navigation Table
The following is a proposed investigation framework, not a record of confirmed failures. Possible factors remain hypotheses. “Interface” identifies the teams and mating parts to investigate, not liability. Set loads, travel limits, exposure conditions, and acceptance criteria in the project test plan.
| Symptom | Priority evidence | Discriminating test | Possible factors / responsibility interface | Reverification |
|---|---|---|---|---|
| Key moves normally but no command appears | Key ID, switching-node waveform, controller event log, revisions | Compare the contact signal with the controller event during the same press | Contact overlap or closure; PCB connection; input mapping or firmware | Confirm press, hold, release, and the intended command in the final assembly |
| Intermittent response, especially off-center | Press position, force/travel, contact alignment, waveform | Compare center and permitted edge presses under matched conditions | Key tilt, contact interface, PCB support, contamination | Repeat the weak operating condition without exceeding permitted force or travel |
| Key sticks, returns slowly, or stays active | Rest position, release video, electrical state after release | Compare a supported keymat with the installed stack; observe mechanical and electrical release separately | Guide rubbing, preload, web damage; an electrical short if motion recovers but conduction remains | Verify full return and inactive electrical state in the released assembly |
| Force changes only after assembly | Paired force–displacement records, support details, assembly settings | Change one approved support or assembly variable while retaining the same keypad | Housing, PCB support, stack height, assembly process | Repeat installed force, switching, and any affected sealing checks |
| One press produces repeated commands | Raw signal and event timestamps; hold duration | Compare physical transitions with processed events; separate bounce from intentional auto-repeat | Contact stability, input conditioning, firmware timing | Check distinct presses, sustained holds, and release without unwanted events |
| Web tears or return deteriorates with use | Damage origin, both-side photos, lot/cavity, handling and duty history | Compare retained uncycled parts; inspect interference; reproduce the suspected loading on designated test samples | Initial damage, travel or side loading, molded geometry, material/process | Repeat the agreed duty profile; inspect damage and measure return and switching |
| Legends wear, coating cracks, or surface becomes tacky | Defect map, original appearance, cleaner identity, wear path | Compare exposed and unexposed samples using the approved procedure | Coating stack, substrate preparation, mechanical rubbing, chemical exposure | Check readability, surface condition, return, and electrical function |
| Hot spots, dim legends, or light leakage | Powered/unpowered images, LED map, drive condition, optical stack | Hold illumination and viewing conditions constant; exchange one compatible component | LED/driver, light-blocking geometry, decorated keymat, assembly gaps | Review the complete powered assembly and unlit appearance against agreed criteria |
These branches combine keypad-construction, contact-measurement, debounce, material, and existing specialist guidance; the comparisons and closure steps are engineering synthesis. S1 S2 S3 S5 J3
Separate Mechanical and Electrical Failures
Identify what actually makes the switch
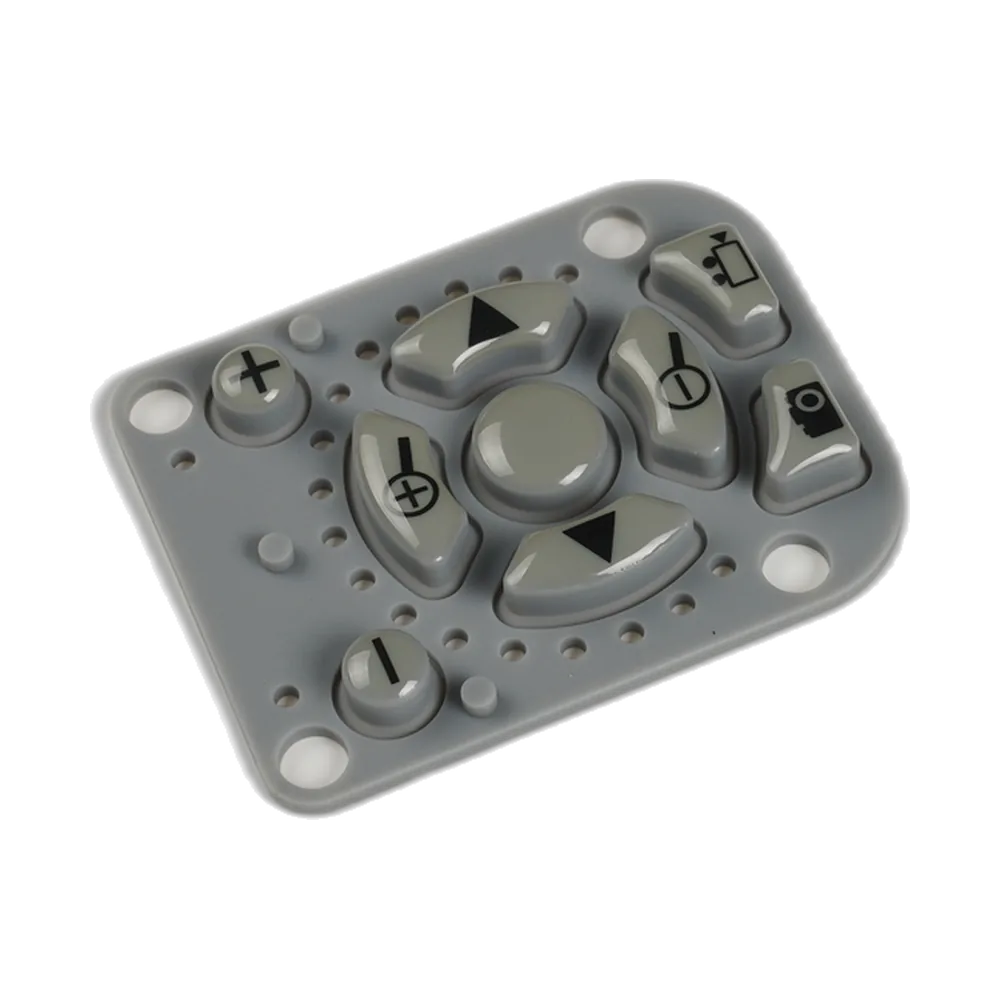
A conductive rubber keypad uses a contact pill against circuit pads; a non-conductive keymat may instead actuate a separate switch. For a conductive design, tactile collapse does not necessarily coincide with electrical closure. Record force and displacement alongside the switching event rather than treating a click as proof of a valid input. S1
Inspect the complete press and release. Use defined support, probe geometry, press position, speed, and conditioning. A single peak-force reading leaves the return portion unexamined.
Separate resistance measurement from functional testing
Measure resistance on an isolated, unpowered path using an approved setup. Record stimulus, measurement points, applied force or displacement, and dwell. Four-wire sensing can exclude lead drops outside the sense points; it does not correct poor alignment or contact pressure. Excessive test voltage can disturb contact films, so agree low-level characterization before higher-energy tests where film preservation matters. S2
Then assess the powered input under controlled conditions. Compare the raw signal with the controller’s accepted events. Debounce addresses unwanted transitions; its timing must reflect the switch behavior rather than a copied universal delay. S3
Use the carbon-pill resistance guide for the detailed contact measurement and circuit-limit review.
Identify Surface and Lighting Defects
Make separate unlit and powered inspection records. Locate each defect relative to the legend, crown, edge, and housing. For comparison photographs, fix exposure, viewing direction, ambient illumination, and LED drive; use the specified optical measurement method for numerical acceptance.
A useful comparison exchanges a compatible decorated keymat while retaining the same lighting board and housing. A defect that follows the keymat supports further surface/optical-path investigation; one that stays with the board position supports a different branch. Neither result alone proves the responsible process.
Continue through the laser legends and protective coatings guide for stack-specific investigation. J3
Do not choose a cleaner merely because the part is called silicone. Solvents and oils can adversely affect some conductive silicone formulations. Check compatibility with the actual contact, coating, adhesive and assembly rather than inferring it from the material-family name.
Compare Bare-Part and Assembled Behavior
A bare-part comparison needs a defined fixture and support. Do not compare a hand-held, unsupported keymat with an instrumented installed assembly. Establish the baseline before altering the returned configuration.
For compatible, same-revision parts, consider a controlled cross-swap: passing keypad/passing board; suspect keypad/suspect board; suspect keypad/passing board; and passing keypad/suspect board. Keep the housing, fixture, firmware, and test settings unchanged. Record each assembly operation, because reseating is itself an intervention. Failure with the suspect keypad on both boards supports the keypad branch; failure with either keypad on one board supports the board-side branch. Failure in only one pairing suggests an interaction. These results narrow the investigation, not the internal failure mechanism.
Illustrative example: A keymat returns normally in its support fixture but sticks after the bezel is fitted. This supports an assembly-dependent hypothesis, not an automatic rejection of the molded part. Examine clearance, support, and preload separately; then repeat the test in the approved final configuration.
Use the tooling and prototyping guide when the evidence points toward geometry, tooling, or prototype approval. For projects considering silicone keypad assemblies, define which mating components and tests belong inside the supplied module. J2 JP
Collect Evidence Before Choosing a Corrective Action
Write the hypothesis before the intervention, including what result would weaken it. Agree the test endpoint, then retain raw curves, waveforms, photographs, and sample identities. Cleaning, lubricant, material substitution, tool adjustment, and firmware filtering should not be combined into one unexplained trial.
For damaged webs, distinguish material-property evidence from installed-part life. Flex fatigue, compression set and tear strength are separate characteristics measured with defined specimens and conditions. Results from a material specimen or model keyboard do not establish the lifetime of a different installed keypad.
Use this blank record for each investigation:
| Stage | Information to enter | Observation / raw-file reference |
|---|---|---|
| Baseline | Sample/key ID, configuration, symptom, test conditions | ______ |
| Discrimination | Hypothesis, fixed conditions, single changed variable, predicted result | ______ |
| Corrective trial | Approved change, owner, changed revision, affected requirements | ______ |
| Reverification | Original fault condition, regression checks, criteria, disposition | ______ |
Close the issue against the original failure condition and the functions affected by the change. Report unresolved hypotheses explicitly. A successful intervention is not automatically a demonstrated root cause or authorization to release a lot.
Frequently Asked Questions
Can purchasing submit a useful report without laboratory measurements?
Yes. Send traceable photos, revisions, quantities, the expected-versus-observed behavior, and a reproducible operating sequence. Identify unavailable measurements rather than estimating them. Engineering can then select the appropriate first test.
What does a pass after reseating prove?
Only that the tested configuration now passes. Record the intervention and examine the connection, alignment, and preload changes it introduced. Do not label the original failure resolved solely because it disappeared.
Should returned keypads be cleaned before shipment?
Preserve the as-received condition when safe and permitted. Disclose contamination and follow agreed handling and shipping requirements. When cleaning is necessary, document the product and procedure and identify which evidence was altered.
Can a material datasheet justify a keypad cycle-life claim?
Not by itself. Check the specimen, loading, environment, and failure definition. A material comparison or model-keyboard result is not validation of another keypad geometry, electrical interface, or enclosure. S5
What should the report say when the fault cannot be reproduced?
State “not reproduced under the recorded conditions,” list those conditions, and describe differences from field use. Retain the original complaint and agree the next evidence or disposition; do not convert an unreproduced fault into a proven absence of failure.
Request an OEM Failure Review
Submit the keypad drawing or sample photos, PCB/contact layout, housing sections, relevant revisions, and failure records. Include affected and inspected quantities, available returned and passing samples, equipment use, critical force/electrical/visual requirements, exposure history, and expected quantities for any corrective supply.
Mark unresolved items TBD. Identify whether the requested scope is a keymat, a supplied assembly, or an interface investigation. Use the request a keypad engineering review form to request an OEM failure review and agree the required evidence and scope. JR
Ready to Start Your Project?
Tell us about your membrane switch, keypad, or graphic overlay requirements. Our engineering team will review your specifications and provide a detailed quote.