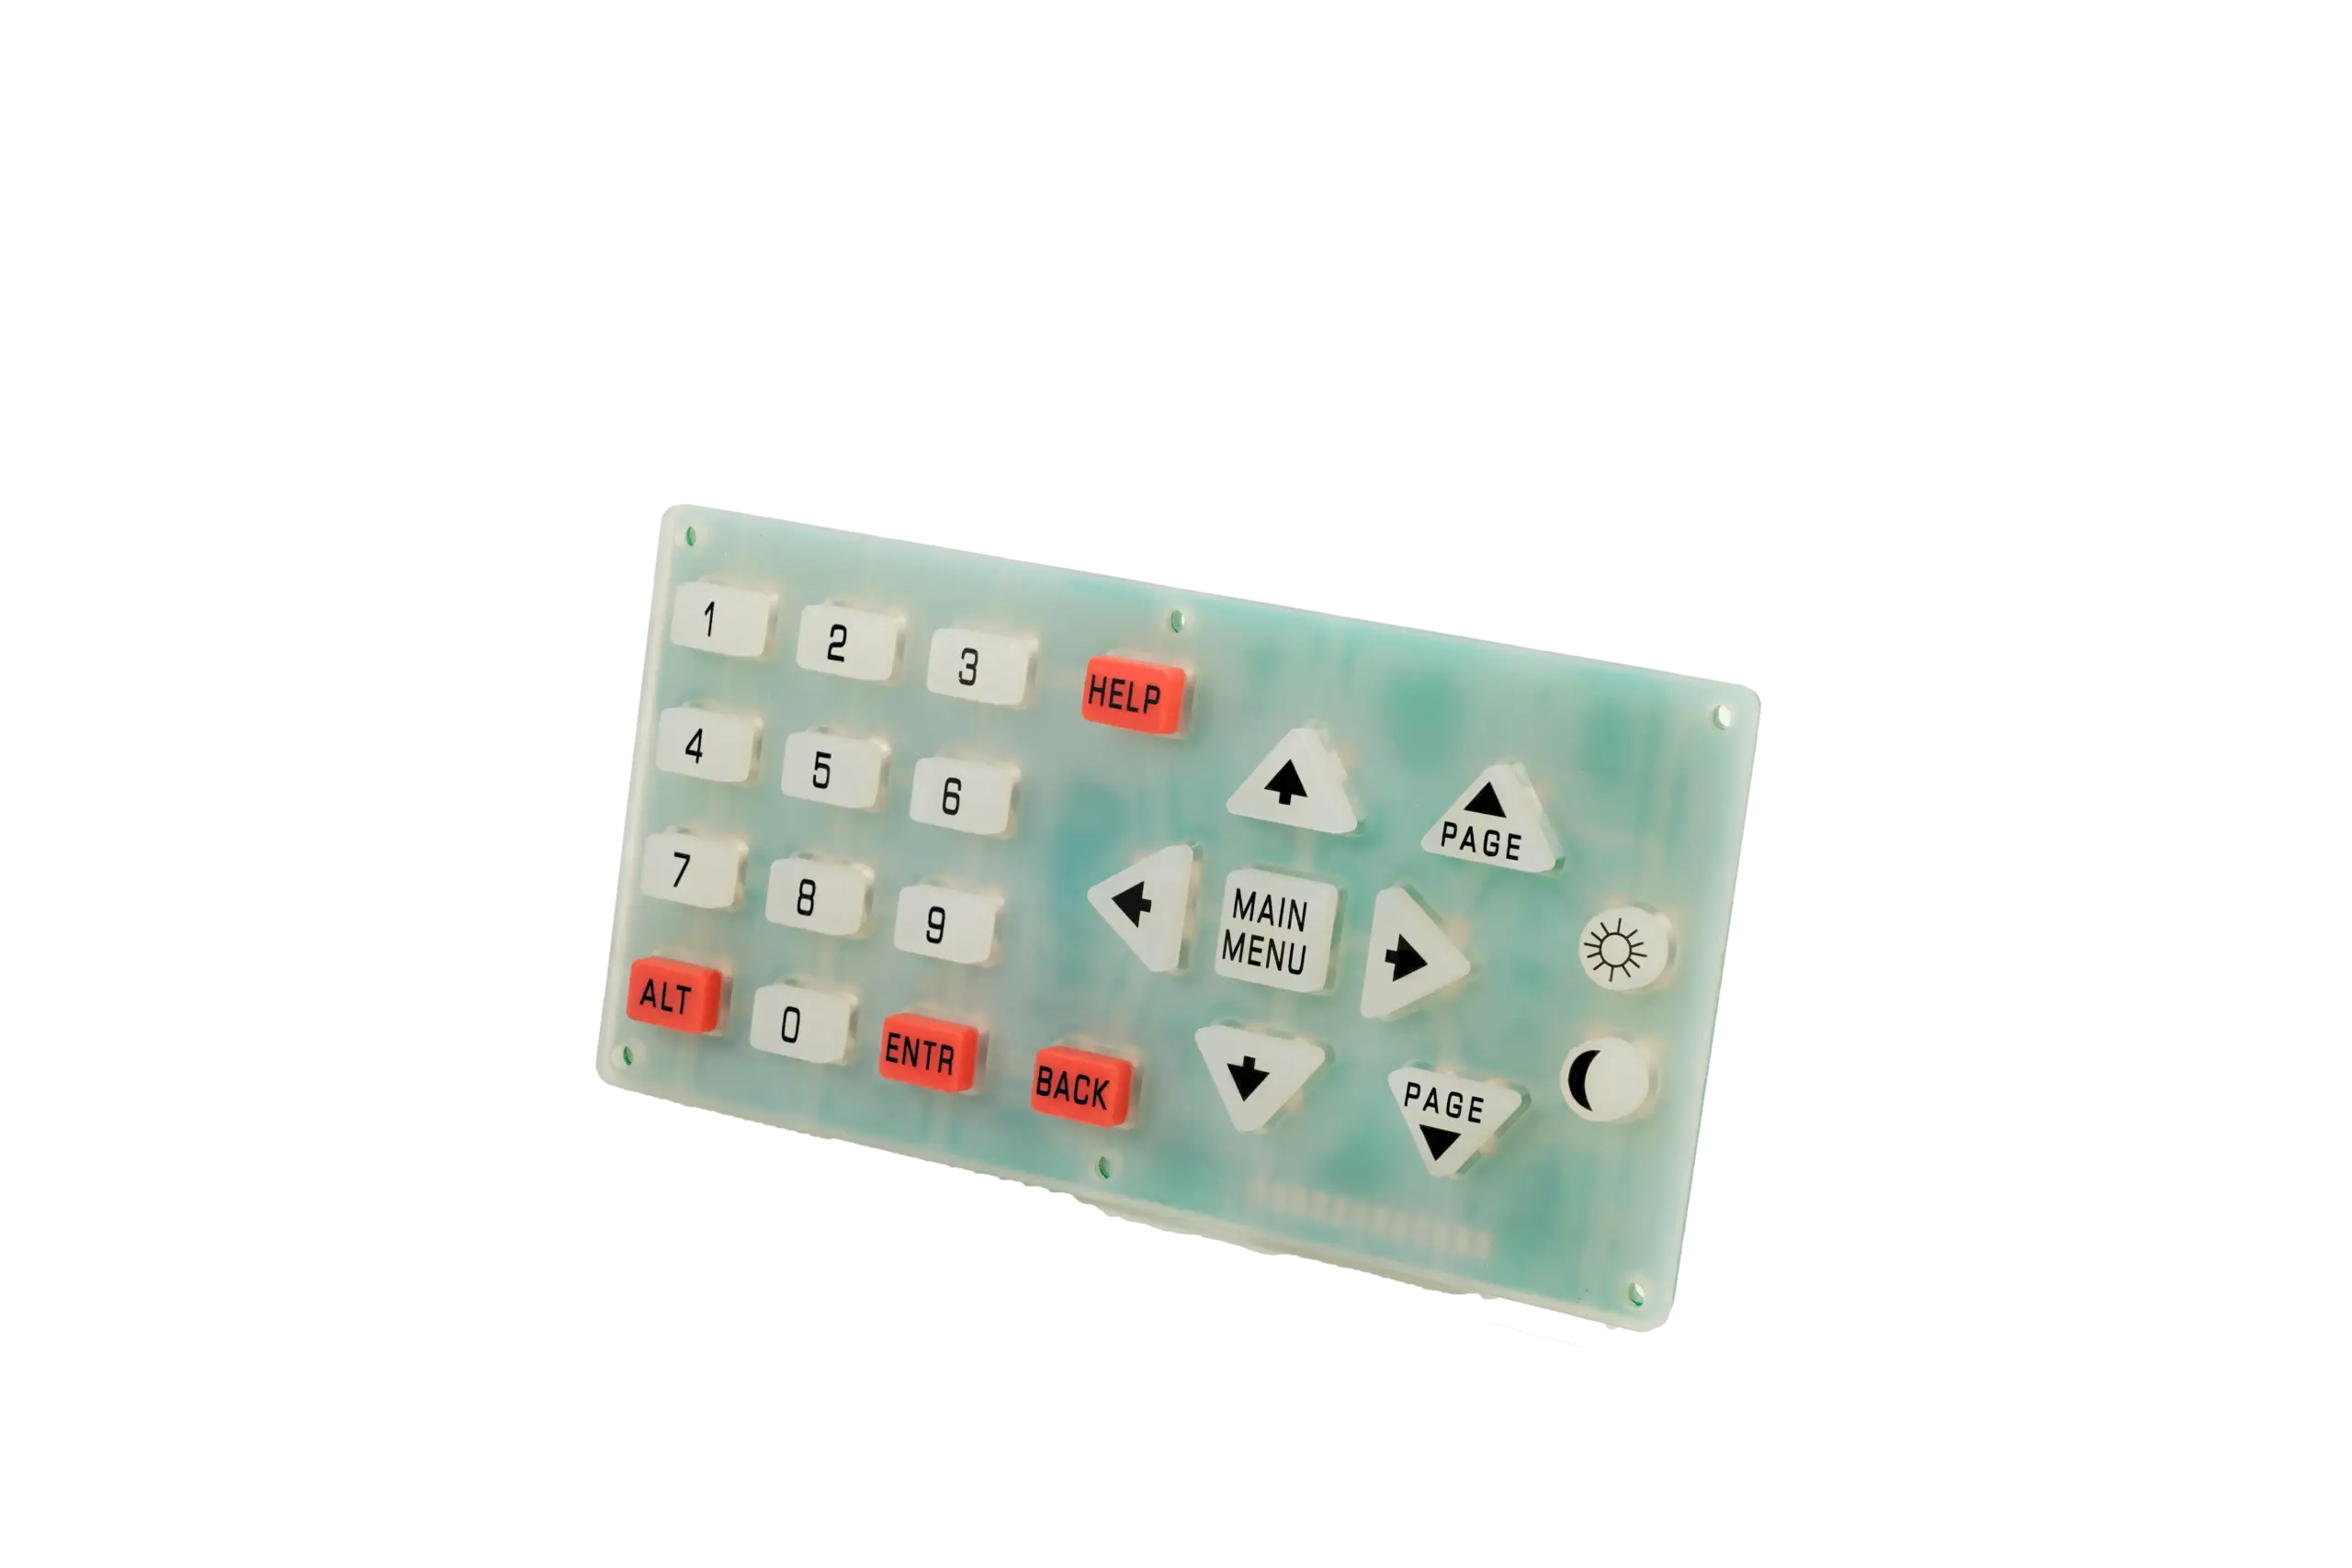
A multicolor silicone keypad can get its visible color from the silicone compound, from printed ink, from a coating, or from a combination of those methods. The choice changes the color boundary, tooling and secondary operations, backlighting behavior, and inspection plan.
For an OEM, the useful question is not simply “Can this keypad be made in three colors?” It is: Which regions need color, what job does each color perform, and must the color be in the rubber or on the surface?
Pigment systems are available for both solid and liquid silicone rubber. Multicomponent 2K injection molding is one route for silicone/silicone color combinations, but not every multicolor keypad uses it and not every supplier offers it. Surface color uses a different architecture: silicone marking inks can be pad- or screen-printed, while coatings can create broad visible fields or opaque masks.
- 1. Locate the Required Color Regions
- 2. Compare Molded and Surface-Applied Color
- Molded color
- Printed color
- Coated color
- 3. Selection Matrix
- 4. Review Boundaries and Registration
- 5. Account for Tooling and Secondary Operations
- 6. Design the Color Stack for Backlighting
- 7. Approve Color Under Defined Lighting
- 8. Validate in Stages
- Review Your Keypad Artwork and Finish
1. Locate the Required Color Regions
Start with a color-zone drawing, not only a rendering. For every visible region, define:
- the key or surface carrying the color;
- whether it is a whole key, large zone, local graphic, legend, border, or light-blocking area;
- whether it must be opaque, translucent, or light-transmitting;
- its required LED-off and LED-on appearance;
- the molded datum controlling its location; and
- whether the boundary is cosmetic only or also controls light leakage.
This separates three different design problems. A full colored key may suit a molded-color route if the supplier can create the boundary repeatably. A small warning symbol is usually a printing problem. A dark area around a translucent legend may be an optical mask rather than decoration.
2. Compare Molded and Surface-Applied Color
Molded color
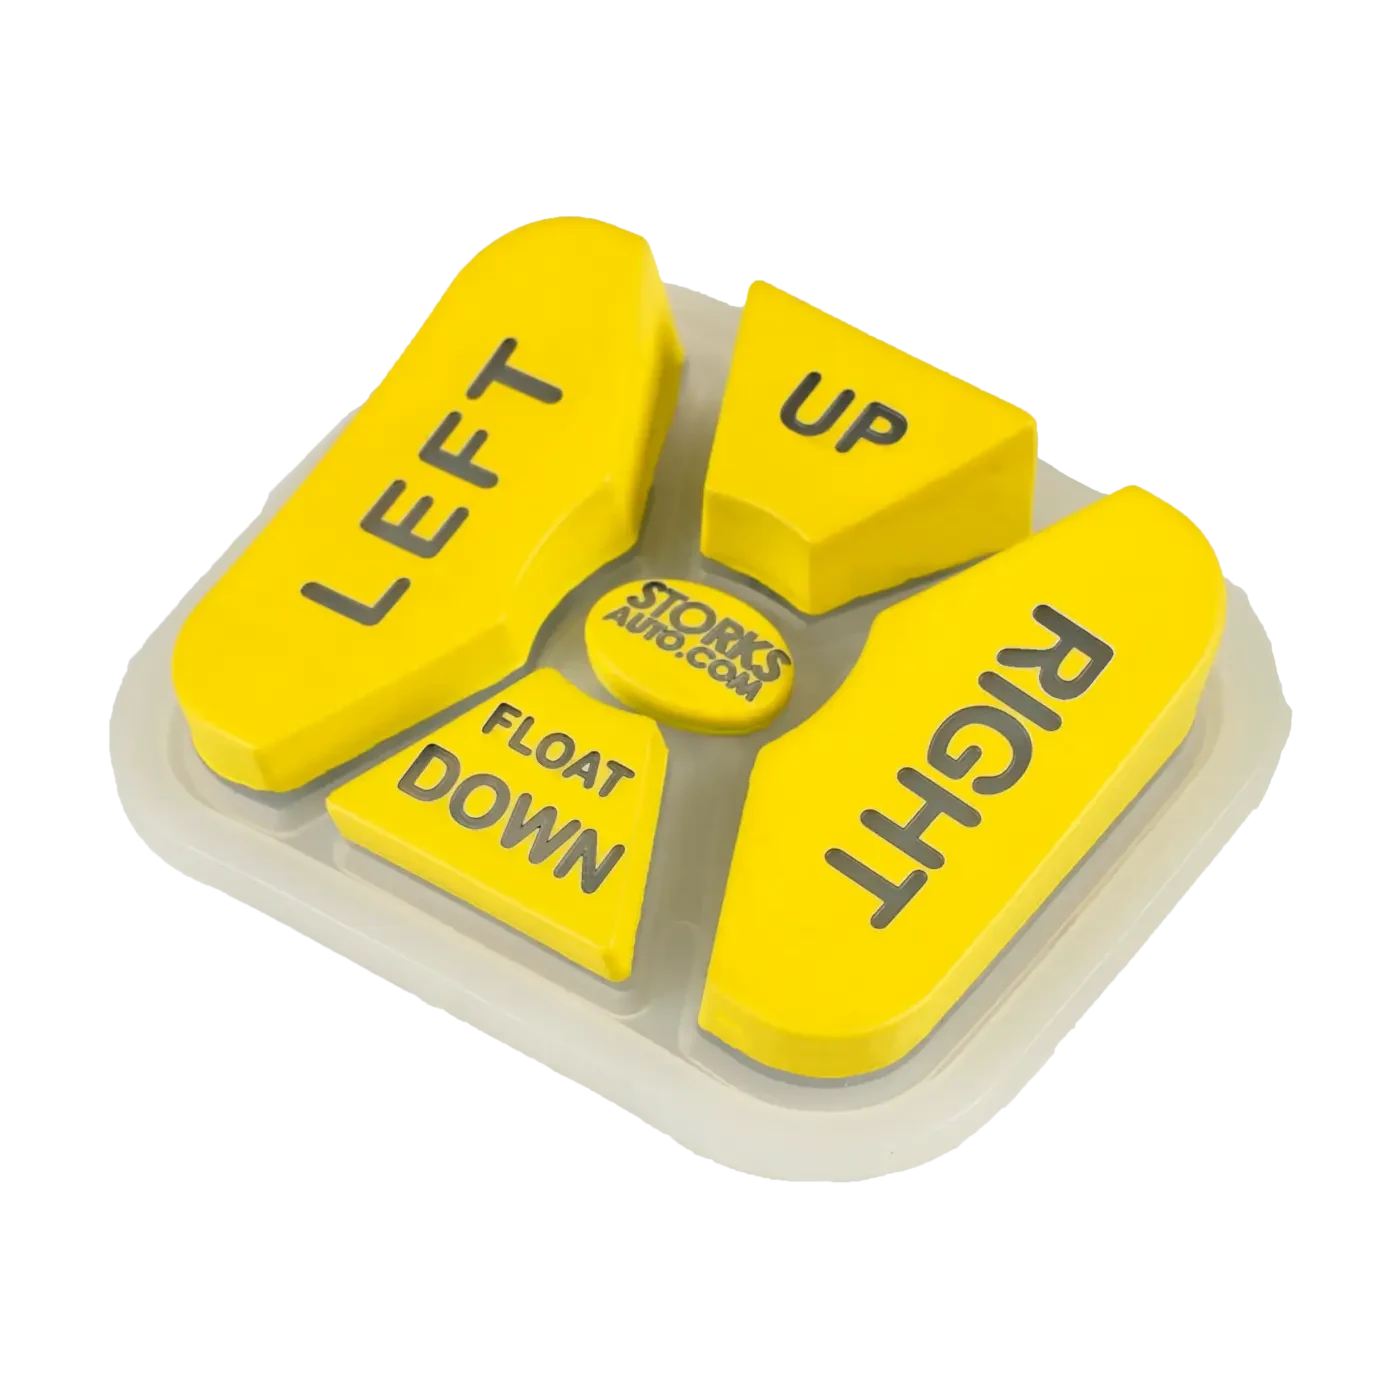
Molded color incorporates pigment into the silicone before cure, with formulations ranging from transparent or translucent to opaque. It is a candidate for whole keys or larger color zones where color should form part of the rubber body.
“Multicolor molded,” however, is not a complete process specification. Multicolor compression molding, 2K/two-shot injection molding, and other qualified molding routes must be treated separately. The quotation should name the actual route and its boundary limits.
Printed color
Printing adds a local graphic after molding. Silicone-compatible marking inks can be applied by pad or screen printing for legends, icons, small accents or model variants. Control artwork revision, fixture location, registration, ink and cure system, edge quality, adhesion, wear and any protective top layer.
A flat coupon can screen color or ink compatibility. It cannot approve registration on a curved production key.
Coated color
A coating can cover a whole key field, selected keys, or masked areas. It may provide the visible top color, change gloss/texture, or act as an opaque light blocker. In a laser-etched construction, selected coating is removed to reveal a contrasting lower layer or light path.
Because a coating is a surface film, the final keypad must also control layer adhesion, edge conditions, coverage, flexibility, wear, and optical behavior.
3. Selection Matrix
| Decision factor | Molded multicolor | Printed color | Coated color |
|---|---|---|---|
| Color location | In the silicone body/defined molded region | Local ink on cured silicone | Surface film over all or part of the silicone |
| Typical candidate regions | Whole keys, large blocks | Legends, symbols, small graphics | Broad fields, top color, masks, light-blocking areas |
| Boundary mainly controlled by | Mold/process architecture and material placement | Artwork, fixture and registration | Mask/application coverage and any later laser opening |
| Process impact | May require dedicated multicolor molding tooling/process | Adds print tooling/fixture, ink handling and cure | Adds masking/application, cure, inspection and possibly laser |
| Backlighting | Pigment/section affect transmission and daytime color | Must validate whether ink is opaque/translucent for its role | Often used for visible top color or light blocking |
| Sample must prove | Molded boundary, color and repeatability | Registration, edge, cured appearance, adhesion/wear | Coverage, edge, adhesion, appearance and optical behavior |
This is a decision framework, not a statement of JASPER’s current capability. Each molding, printing, coating, masking and laser route must be confirmed for the project.
4. Review Boundaries and Registration
A part can match the target color and still fail visually because the boundary is wrong. Define the two regions on each side of a transition and the feature that locates it. Use vector artwork where applicable and reference color regions to real molded datums.
The controlling mechanism changes by process: a molded boundary follows the qualified molding/tool route; a printed boundary follows artwork and part-to-fixture registration; a coating boundary follows masking/application coverage and any later removal process.
Do not assign one universal boundary tolerance to all three. Ask the supplier for the achievable limit for the proposed route and approve it on representative molded geometry. Curved and sloped key tops should be inspected as actual 3D parts, not approved from a flat screenshot alone.
5. Account for Tooling and Secondary Operations
Freeze the color architecture before treating the mold as final. A single-color molded keypad with later printing may share one molded geometry across several graphic variants. A molded multicolor design may tie color zones more closely to the chosen molding route. A coated design may preserve the same base geometry but add preparation, masking, coating, cure, inspection and laser operations.
For RFQ and change control, identify:
- which colors are molded, printed, or coated;
- which layer also acts as a light blocker;
- which process creates every visible boundary;
- which tooling or fixtures are color-specific; and
- which artwork revision controls each secondary operation.
Do not treat a two-color keypad, two-color molding and two-shot molding as synonyms. A 2K multicomponent injection-molding route can combine differently colored silicones; multicolor compression molding and secondary coating or printing are different manufacturing paths.
6. Design the Color Stack for Backlighting
For every illuminated region, define what should emit light, what should remain dark, the LED-off appearance, the LED-on output, the LED/drive condition used for approval, and the acceptable leakage boundary.
JASPER’s existing laser/coating article treats molded silicone, intermediate mask/color, visible top color, laser opening and protective coating as a complete surface stack. The broader silicone keypad design guide also separates molded pigment, print, opaque coating and laser features as different finish roles.
Therefore, approve the complete optical stack. A decorative surface color may not provide enough opacity to block light, while a dark molded pigment may reduce transmission needed elsewhere.
7. Approve Color Under Defined Lighting
Matching a color reference or RAL designation alone is not a complete acceptance instruction for critical silicone appearance. Color-paste reference values are guides, and the actual molded color can differ. Agree the acceptance conditions for the finished silicone part.
Measured color values depend on a defined illuminant and observer. Metamerism can make materials match under one light and differ under another. D65 is a common daylight reference, but the selected illuminant should represent the product’s actual viewing environment.
Define, as applicable:
- the physical master, color plaque, or approved first article;
- visual illuminant(s) or numerical measurement conditions;
- surface texture/gloss state and measurement location;
- whether unlike constructions are being compared;
- the agreed color-difference method/tolerance, if used; and
- powered and unpowered states for illuminated products.
Do not copy a color tolerance from another project without confirming the material, finish, instrument and customer requirement.
8. Validate in Stages
Use each sample for a defined approval purpose:
- color plaques/coupons: screen pigment, ink or coating direction;
- molded multicolor samples: approve molded color-zone placement and transition;
- decorated keypad samples: approve print/coating registration, surface appearance, adhesion and wear;
- powered assemblies: approve light transmission, light blocking, readability and cross-lighting.
Retain the final accepted construction together with the drawing, artwork revision, process route and inspection condition.
Frequently Asked Questions
Is molded color always more durable than a coating?
Not automatically. Bulk color does not depend on a thin top color layer, but the surface can still polish, stain or abrade. A coating can perform well when its substrate, preparation, cure, flexing and exposure are qualified. The key difference is that a coating adds a surface interface that must be validated.
Is a two-color silicone keypad the same as 2K molding?
No. “Two-color keypad” describes the visual result. 2K injection molding is one specific multicomponent process. Multicolor compression molding, printing and secondary coating are separate routes.
Can a color reference or RAL alone specify production color?
They are useful references, but a critical appearance should also be approved on the actual construction under defined lighting. Add a numerical measurement method only when the project requires it.
Which method is best for a backlit keypad?
The method depends on what must transmit light, what must block it, the daytime appearance, legend architecture, LED system and wear requirements. Review pigment, print, coating and any laser opening as one optical stack.
Can molded color, printing and coating coexist on one keypad?
Yes, if each region/layer has a defined purpose and the complete stack is validated. The drawing should identify which process creates each visible region so later substitutions do not silently change the approved construction.
Review Your Keypad Artwork and Finish
For a useful review, send the 2D/3D keypad files, a color-zone drawing, vector artwork, physical or named color references, required opaque/translucent regions, powered and unpowered appearance targets, LED/PCB data for illuminated products, surface finish, operating/cleaning exposure, prototype and annual quantities, and any items that remain TBD.
Submit the package through the keypad engineering review / RFQ form.
References
- JASPER, Laser-Etched Silicone Keypad Legends and Protective Coatings: https://www.jasperele.com/blog/laser-etched-silicone-keypad-legends-coatings/
- JASPER, Silicone Rubber Keypad Design Guide for OEM Products: https://www.jasperele.com/resources/silicone-rubber-keypad-design-guide/
Ready to Start Your Project?
Tell us about your membrane switch, keypad, or graphic overlay requirements. Our engineering team will review your specifications and provide a detailed quote.