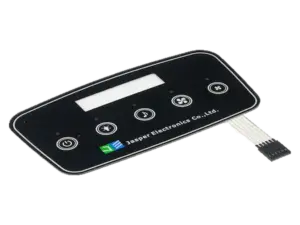

For decades, 3M 467MP (2.0 mil / 0.05 mm 200MP acrylic adhesive) has been the default callout on legacy engineering title blocks for membrane switches and graphic overlays. When laminated onto a smooth, degreased stainless steel or bare aluminum plate, 3M 467MP performs admirably. Yet when that exact same drawing is used to mount a keypad onto a textured injection-molded ABS/PC enclosure, a polypropylene (PP) case, or a textured powder-coated metal chassis, the corners begin lifting within days of assembly.
Adhesive failure is rarely caused by ‘bad glue’—it happens because the surface energy (dynes/cm) and micro-texture depth (Ra) of the enclosure substrate were mismatched with the adhesive chemistry and thickness. Drawing from our Membrane Switch Materials Library, here is the definitive engineering guide to selecting between 3M 467MP, 3M 468MP, and 3M 300LSE (9471LE / 9472LE).
1. The Physics of Wet-Out: High Surface Energy (HSE) vs. Low Surface Energy (LSE) Enclosures
Pressure-sensitive acrylic adhesives (PSA) bond through microscopic molecular attraction (van der Waals forces), which requires the adhesive polymer to flow (wet out) intimately across the substrate surface:
- High Surface Energy (
HSE,>40 dynes/cm) Substrates: Bare aluminum, stainless steel, glass, polyester (PET), and smooth polycarbonate (PC) pull adhesive molecules flat across their surface. Standard 3M 200MP (467MP / 468MP) high-temperature acrylic adhesive achieves maximum shear and peel strength on these materials. - Low Surface Energy (
LSE,29–37 dynes/cm) Substrates: Polypropylene (PP), high-density polyethylene (HDPE), thermoplastic elastomers (TPE), textured ABS molded with silicone mold-release agents, and epoxy/polyester powder-coated paints repel standard 200MP acrylics—causing the glue to bead up microscopically like water on a waxed car hood. For LSE plastics and powder coats, you must specify 3M 300LSE modified acrylic adhesive (3M 9471LEor3M 9472LE), which is chemically formulated to wet out on low-energy polymers. - Surface Texture Depth (
2.0 milvs.5.0 milAdhesive Thickness): If an enclosure has a molded spark texture (MT-11020 / VDI 27) or a pebble powder coat with 0.04–0.08 mm peak-to-valley roughness, a thin 0.05 mm (2.0 mil) 3M 467MP transfer tape only touches the mountain peaks—bridging over 60% of the surface in mid-air! Specifying0.13 mm(5.0 mil) 3M 468MP or 3M 9472LE provides enough adhesive mass to flow all the way to the bottom of the texture valleys.
2. Master 3M Adhesive Selection Matrix by Enclosure Material
Use this selection table to update the rear adhesive note on your custom graphic overlay or label and nameplate drawings:
|
Enclosure Substrate & Surface Finish |
Surface Energy Class |
Recommended 3M Adhesive Callout |
Adhesive Thickness & Key Engineering Advantage |
|
Smooth Machined / Anodized Aluminum or Stainless Steel |
High (>45 dynes/cm) |
3M 467MP (200MP Family) or 3M 468MP |
0.05 mm (2.3 mil) or 0.13 mm (5.2 mil); 149 °C short-term / 204 °C peak heat resistance and exceptional shear strength. |
|
Brushed Metal, Cast Aluminum, or Outdoor Marine Panels |
High (>40 dynes/cm), Rough Texture |
3M 468MP (200MP Heavy Grade) |
|
|
Smooth ABS, PC/ABS Blend, or Painted Metal Housing |
Medium-High (36–42 dynes/cm) |
3M 9471LE (300LSE Family) or 3M 468MP |
0.05 mm (2.3 mil) 300LSE bonds aggressively even if trace mold-release residue remains on injection-molded ABS. |
|
Textured ABS, Polypropylene (PP), HDPE, or Textured Powder Coat |
Low ( |
3M 9472LE (300LSE Heavy Grade) |
|
|
Internal Membrane Switch Spacer & Dome Lamination |
High (PET-to-PET Internal Bond) |
3M 467MP / 468MP or 3M 7955MP / 7956MP |
Zero oozing under die-cutting, high cohesive shear strength under 5,000,000 dome flex cycles (-40 °C to +93 °C). |
3. Mechanical Design Causes of Corner Lifting (And How to Stop Them)
Sometimes an overlay lifts at the corners even when the correct 3M adhesive is used. In our DFM audits, three mechanical design errors generate continuous upward peel stress (Peel Force) that slowly overcomes adhesive shear:
- 1. Placing Embossed Buttons or Metal Domes Too Close to the Outer Edge: When an embossed rim button sits only 1.0–1.5 mm from the outer cut edge of the switch, the vertical spring-back force of the embossed polyester pulls the perimeter adhesive upward 24/7. Always maintain a minimum
3.0 mm to 4.0 mmflat adhesive land between the outer edge of any emboss/dome cavity and the perimeter cut line. - 2. Internal Spacer Thinner Than the Metal Dome Height: If an 11.2 mm stainless steel dome is 0.50 mm tall, but the middle spacer layer is only 0.15 mm thick, the graphic overlay is forced to tent upward over the dome—creating a permanent radial lifting tension. We match spacer + retainer thickness (0.25–0.40 mm) and pre-emboss the overlay dome cavity so the overlay rests in zero-tension equilibrium.
- 3. Selective Adhesive Cutouts Over Tactile Keys & Display Windows: Never apply rear mounting adhesive directly underneath a tactile button or an optical LCD viewport! We die-cut selective adhesive-free relief holes in the rear 3M layer beneath every tactile key so the entire switch sits flat against your enclosure without trapping air bubbles.
|
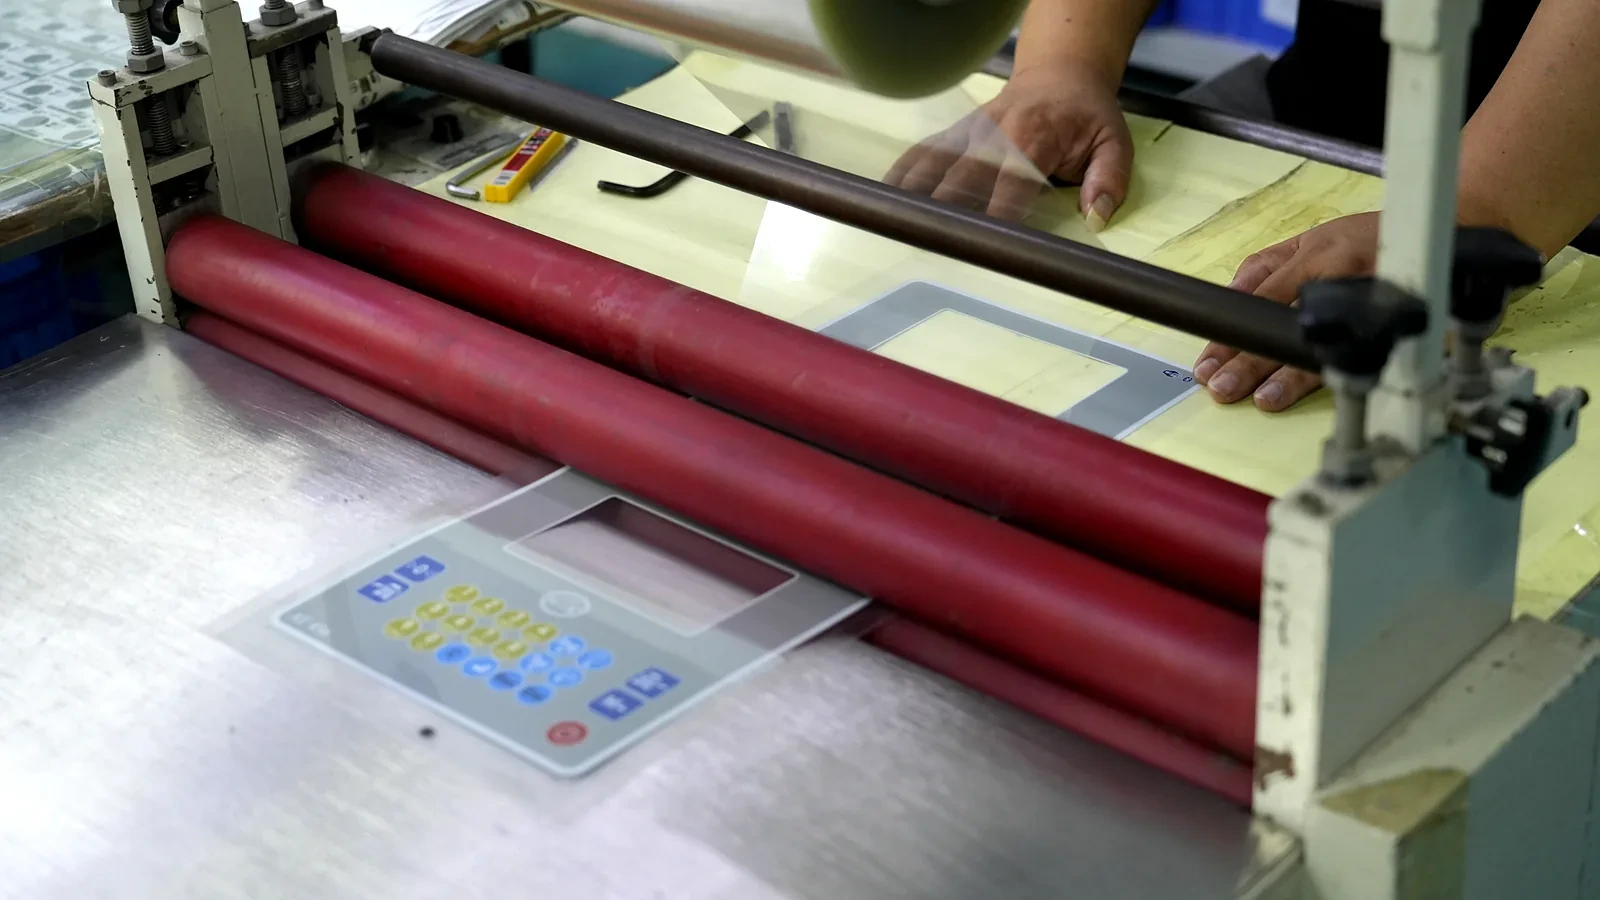
Assembly Line SOP: 4 Steps to Achieve 100% 3M Bond Strength on Your Factory Floor • [ ] Degrease Enclosures With a 70:30 Isopropyl Alcohol (IPA) / Water Wipe: Never use commercial glass cleaners, citrus degreasers, or acetone (which leave surfactant films or attack ABS). Wipe in one direction with lint-free cloths and allow 60 seconds to flash dry. • [ ] Apply >= 15 psi (100 kPa) Uniform Roller Pressure: Finger-pressing a membrane switch leaves 40% of the adhesive unbonded. Always roll the panel from the center outward using a hard rubber hand roller or pneumatic lamination jig. • [ ] Laminate at Room Temperature (18 °C – 25 °C) and Allow 24–72 Hours Dwell Time: Acrylic adhesives are viscoelastic; initial tack at 10 minutes is only ~50% of ultimate bond strength, reaching 90%+ after 24–72 hours at room temperature. • [ ] Never Bend or Curl the Graphic Overlay Past 30° When Peeling the Liner: Instead of peeling the flexible switch away from the backing paper, lay the switch face-down on a flat bench and peel the paper release liner back at a 180° angle so you never pre-curl the polyester overlay. |
Frequently Asked Questions (FAQ)
Q1: Does JASPER use genuine 3M adhesives or generic acrylic tapes?
We stock and convert 100% genuine 3M adhesives (3M 467MP, 3M 468MP, 3M 9471LE, 3M 9472LE, 3M 9080, 3M VHB, and 3M OCA), providing full lot traceability and Certificates of Compliance (CoC) with every production shipment.
Q2: Why is there a thin ring of adhesive missing around the LCD window on my prototype?
That is an intentional DFM feature called Adhesive Setback (0.8–1.0 mm pull-back)! Under lamination roller pressure and thermal expansion, acrylic adhesive flows outward by 0.3–0.5 mm. Setting the die-cut adhesive edge 0.8–1.0 mm back from the transparent window edge guarantees that glue never squeezes into the visible display viewport.
Q3: What adhesive should I choose if my enclosure is mounted on a curved cylinder or tube?
Curved surfaces (Radius < 100 mm) exert continuous spring-back memory force on semi-rigid polyester overlays. Keep total overlay thickness thin (0.125–0.150 mm PET) and specify 0.13 mm 3M 9472LE (300LSE) or 3M VHB thin foam tape (3M 5906 / 5908) paired with a recessed alignment lip.
Unsure Which 3M Adhesive Matches Your Enclosure Material?
Ship us a sample of your molded plastic or powder-coated metal housing—or tell us the exact resin and texture code—and our materials lab will run a 72-hour 180° peel-adhesion test for you. Visit our Materials Center or Contact Us today.
Ready to Start Your Project?
Tell us about your membrane switch, keypad, or graphic overlay requirements. Our engineering team will review your specifications and provide a detailed quote.