
MEDICAL EQUIPMENT • OEM INTERFACES
Custom Medical Membrane Switches
Build the control interface around your medical device—not the other way around. JASPER manufactures custom membrane switches, keypads and graphic overlays, with the artwork, circuit, key feel and connection tailored to your enclosure.
- Custom graphics & windows
- Tactile or flat keys
- Flexible tails & connectors
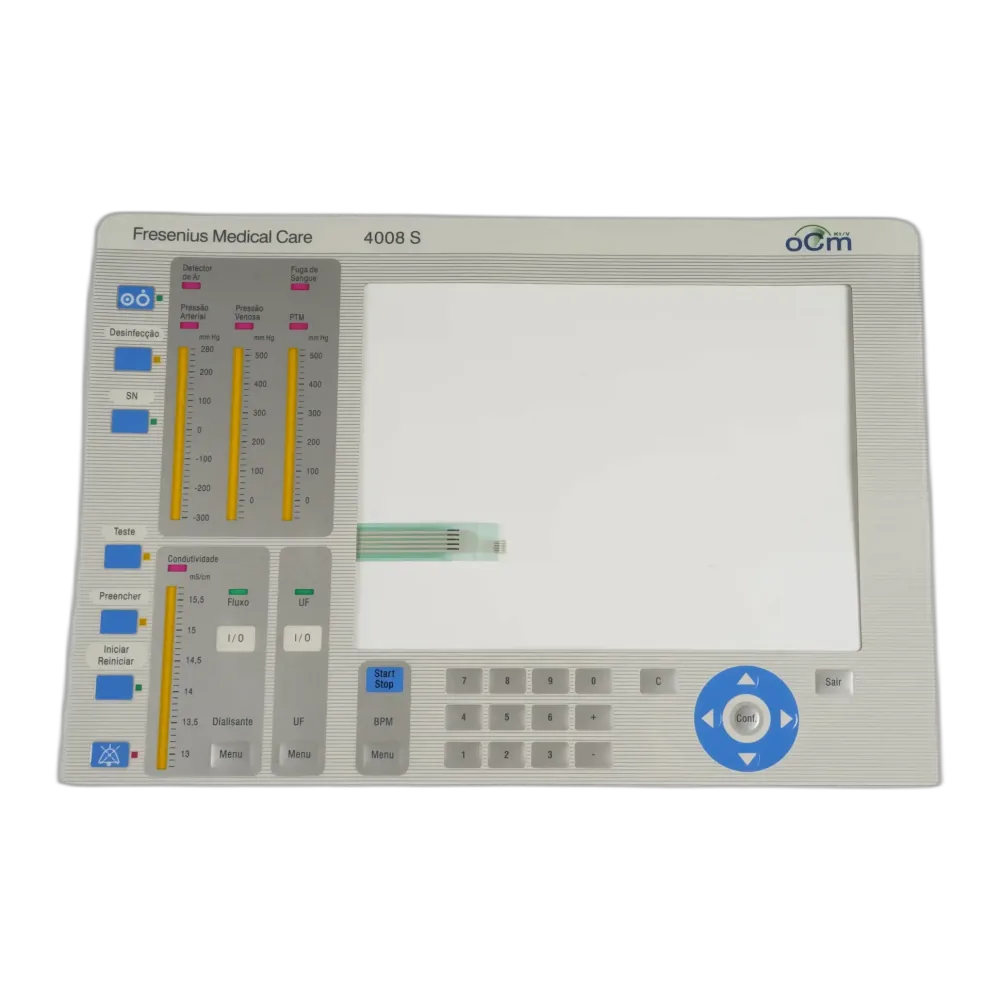
Choose the construction your device needs
Start with the required interaction and enclosure layout. Several options can be combined in one assembly; the final stack-up depends on the approved drawing.
Tactile membrane switches
Defined key feedback for repeated operation. Review actuation force, dome choice and key spacing with the intended gloves.
Explore this constructionSealed membrane switches
A continuous front overlay with an enclosure-specific adhesive and edge design. Check the window perimeter and tail exit as part of the seal.
Explore this constructionBacklit keys & indicators
Illuminate selected legends or add status indicators. Define the lighting zones, colour, brightness and viewing conditions.
Explore this constructionShielded membrane switches
Add a shielding layer when the device design calls for it. Agree the grounding path and assess EMC at the assembled-device level.
Explore this constructionPCB & FPC constructions
Choose the circuit and support structure around component placement, routing, connection and assembly requirements.
Explore this constructionSilicone-rubber hybrid keypads
Combine raised silicone keys with a membrane or flexible circuit when grip and key travel matter. Review the seams and cleaning method.
Explore this constructionDesign for the way the equipment is used
Diagnostic instruments, patient-monitoring equipment, therapy devices and laboratory analysers can require different interfaces. Share the operating environment before selecting materials or approving artwork.
Cleaning & surface finish
Specify the actual cleaner, concentration, contact time and wipe frequency. Review the overlay, print, coating, adhesive and exposed edges together; a film data sheet alone does not validate the finished assembly.
Gloves, key feel & readable legends
Provide the glove type, expected key force and key spacing. Use representative samples to review feedback, contrast, embossing and accidental-operation risks with the device team.
Windows, circuits & enclosure fit
Define display opening dimensions, clear or tinted windows, indicator positions, tail length and bend path, connector pitch and pinout. Include the enclosure material and bonding surface.
Agree the acceptance checks before sampling
Set a project-specific validation plan with your engineering team. These are checks to define—not blanket performance guarantees.
| Review area | What to specify or check |
|---|---|
| Cleaning exposure | Named cleaning agents, concentration, exposure cycles, dwell time and acceptable changes to print, coating and adhesion. |
| Key operation | Actuation force, feedback, repeated-operation target and the test conditions used to judge the sample. |
| Electrical interface | Circuit continuity, pinout, connector mating, insulation requirements and any LED polarity or supply constraints. |
| Sealing & mounting | Bonding surface, edge geometry, window seal, tail exit and the ingress test required for the complete enclosure. |
| Artwork & documentation | Approved drawing revision, legend readability, dimensional checks, material records and agreed lot identification. |
The membrane switch is a component of your device. Device-level safety, EMC and regulatory compliance need assessment of the complete design; cleaning resistance does not automatically imply sterilisation compatibility.
From drawing review to an approved sample
Share the design inputs
Send the panel or enclosure drawing, artwork, electrical interface, cleaning conditions and quantities. Identify any mandatory documentation at this stage.
Confirm the build
Review the overlay, key structure, circuit, adhesive, windows and connection. Agree the drawing revision, acceptance criteria and quotation scope before tooling.
Evaluate and release
Check samples in the actual enclosure and operating conditions. Resolve changes before approving the production specification and inspection plan.
Standard sampling is typically 7–10 days, subject to project confirmation. Tooling, special materials and validation requirements can change the schedule.
Tell us about your medical interface
A drawing is ideal, but a marked-up photo or initial concept can also start the discussion. Include what you know and flag what still needs engineering review.
The button opens our enquiry form on this page so you can describe the project and leave your contact details.
- Panel dimensions, enclosure material and mounting method
- Artwork, display windows, key layout and feedback
- Circuit, tail routing, connector and pinout
- Cleaning agents, gloves, environment and acceptance tests
- Prototype quantity, expected order volume and target timing
Medical membrane switch questions
Can you customise a membrane switch for our medical device?
Yes. We review the enclosure, graphics, key layout, circuit and connection requirements, then define a project-specific construction and quotation. Share your drawing or concept to begin.
Can the keypad withstand our disinfectant?
Compatibility depends on the complete material stack and the actual cleaning process. Provide the cleaner, concentration, contact time and frequency so the materials and sample tests can be agreed.
Can the keys be used with gloves?
Glove operation should be checked with representative samples. Glove thickness, key spacing, embossing and actuation force all affect the result; specify the gloves and operating conditions in your enquiry.
Can you combine display windows, lighting and shielding?
These features can be reviewed within one custom assembly. The space, optical requirements, circuit, power connection and shielding ground path need to be defined together.
Does a sealed membrane switch make the device waterproof?
Not on its own. The enclosure, adhesive joint, window perimeter and tail exit all contribute to ingress protection. Agree and test the required rating on the complete assembly.
What should we send for a quote?
Send the mechanical drawing or sample photo, artwork, electrical connection, quantities and operating conditions. Include cleaning exposure and required material or inspection documents so the quotation covers the intended scope.